Changelog
Total Products – 20704

Wpforms | Slack

star star star star star_half 4.5/5 based on 100 reviews
schedule

Updated on: August 7, 2025

code

Version 1.1.0

Wpforms | Slack
GPL License
VirusTotal Scan: View Report
Updated On: August 7, 2025
Version: 1.1.0
Downloads: 12
Status: verified_user Secure & Clean
Have a problem? bug_report Report Click here to report any issues with the product.

Single Purchase

Buy this product once and own it forever.

199

Membership

Unlock everything on the site for one low price.

912 / month SAVE 90%

Product Overview

About Wpforms | Slack

Introduction

Wpforms and Slack are two popular tools that can help streamline and enhance communication and workflow for teams. By integrating Wpforms with Slack, you can create seamless communication channels and automate various processes within your organization. In this blog post, we will explore the benefits and features of integrating Wpforms with Slack, and how this integration can improve efficiency and collaboration within your team.

Benefits of Wpforms and Slack Integration

Integrating Wpforms with Slack offers numerous benefits for teams. One of the main advantages is the ability to receive instant notifications and updates directly in Slack whenever a new form submission is received. This real-time notification feature helps team members stay on top of important information and ensures that no submissions are missed. Additionally, the integration allows for quicker response times and improved communication between team members, leading to increased productivity and efficiency.

Features of Wpforms and Slack Integration

The integration between Wpforms and Slack comes with a range of useful features that can streamline your workflow. For example, you can set up automated notifications to be sent to specific Slack channels based on certain form submissions or criteria. This feature is particularly helpful for teams working on project management or customer support, as it ensures that the right people are notified of relevant information in a timely manner. Additionally, the integration allows for easy collaboration and feedback sharing within Slack channels, making it easier for team members to work together on tasks and projects.

How to Integrate Wpforms with Slack

Integrating Wpforms with Slack is a straightforward process that can be done in just a few steps. First, you will need to install and activate the Wpforms plugin on your WordPress site. Next, navigate to the settings of the form you wish to integrate with Slack, and select the "Integrations" tab. From here, you can choose Slack as the integration option and follow the prompts to connect your Slack account. Once the integration is set up, you can configure the settings to specify which Slack channel should receive notifications and customize the messages that are sent. Finally, test the integration to ensure that notifications are being received successfully.

Conclusion

Integrating Wpforms with Slack can significantly enhance communication and collaboration within your team. By leveraging the real-time notifications and automated processes that this integration offers, you can streamline workflow, improve efficiency, and ensure that important information is communicated effectively. Whether you are managing projects, collecting customer feedback, or organizing events, integrating Wpforms with Slack can help you work more effectively as a team and achieve your goals more efficiently.

Installation & Usage Guide

What You'll Need

  • After downloading from our website, first unzip the file. Inside, you may find extra items like templates or documentation. Make sure to use the correct plugin/theme file when installing.
1

Unzip the Plugin File

Find the plugin's .zip file on your computer. Right-click and extract its contents to a new folder.

Image showing how to unzip a file
2

Upload the Plugin Folder

Navigate to the wp-content/plugins folder on your website's side. Then, drag and drop the unzipped plugin folder from your computer into this directory.
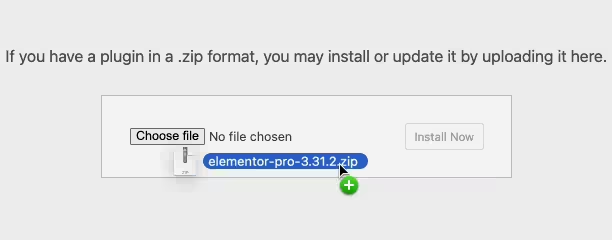
Image of dragging and dropping the plugin folder
3

Activate the Plugin

Finally, log in to your WordPress dashboard. Go to the Plugins menu. You should see your new plugin listed. Click Activate to finish the installation.
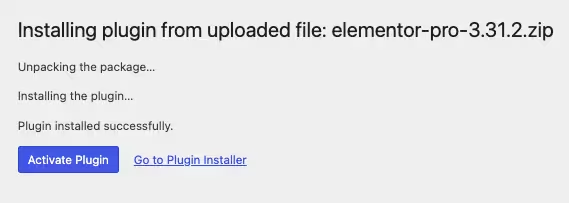
Image of the WordPress plugins page with the activate button highlighted

PureGPL ensures you have all the tools and support you need for seamless installations and updates!

For any installation or technical-related queries, Please contact via Live Chat or Support Ticket.