Changelog
Total Products – 20704

Wp multi-lingual | XLIFF

star star star star star_half 4.5/5 based on 100 reviews
schedule

Updated on: April 7, 2024

code

Version 0.9.7

Wp multi-lingual | XLIFF
GPL License
VirusTotal Scan: View Report
Updated On: April 7, 2024
Version: 0.9.7
Downloads: 12
Status: verified_user Secure & Clean
Have a problem? bug_report Report Click here to report any issues with the product.

Single Purchase

Buy this product once and own it forever.

$ 3.49

Membership

Unlock everything on the site for one low price.

$ 16 / month SAVE 90%

Product Overview

About Wp multi-lingual | XLIFF

Introduction

Website localization is crucial for reaching a global audience and ensuring that language barriers do not hinder your message. In this blog, we will explore WP multi-lingual and XLIFF, two essential tools for creating multilingual websites efficiently and effectively.

WP Multi-Lingual

WP Multi-Lingual is a powerful plugin for WordPress that allows you to easily translate your website content into multiple languages. With WP Multi-Lingual, you can create a multilingual website without changing the core functionality of WordPress. This plugin enables you to manage and customize language-specific versions of your website, making it easy for visitors to switch between languages seamlessly.

XLIFF

XLIFF (XML Localization Interchange File Format) is a standard format for exchanging localization data between different tools and systems. XLIFF files contain both the source text and its corresponding translations, making it easy to manage translation projects efficiently. By using XLIFF, you can streamline the translation process for your website and ensure consistency across all language versions.

Benefits of WP Multi-Lingual and XLIFF

By combining WP Multi-Lingual and XLIFF, you can enjoy various benefits for creating and managing multilingual websites. Some of the key advantages include:

  • Efficient Translation Workflow: XLIFF files make it easy to organize and streamline the translation process for your website content.
  • Consistent Translations: XLIFF ensures that translations are consistent across all language versions of your website, maintaining a cohesive brand image.
  • Improved User Experience: WP Multi-Lingual allows visitors to switch between languages seamlessly, enhancing the user experience and increasing engagement.
  • SEO-Friendly: With WP Multi-Lingual, you can optimize each language version of your website for search engines, improving visibility and attracting more organic traffic.

Getting Started with WP Multi-Lingual and XLIFF

To start creating a multilingual website using WP Multi-Lingual and XLIFF, follow these steps:

  1. Install and activate the WP Multi-Lingual plugin on your WordPress website.
  2. Use XLIFF files to export and import translations for your website content.
  3. Customize language-specific settings and translations to create a seamless multilingual experience for your visitors.
  4. Regularly update and maintain your multilingual website to ensure content accuracy and relevance in all languages.

Conclusion

WP Multi-Lingual and XLIFF are essential tools for creating and managing multilingual websites efficiently. By harnessing the power of these tools, you can reach a global audience, enhance user experience, and boost your website's SEO performance. Start exploring WP Multi-Lingual and XLIFF today to unlock the full potential of your multilingual website.

Installation & Usage Guide

What You'll Need

  • After downloading from our website, first unzip the file. Inside, you may find extra items like templates or documentation. Make sure to use the correct plugin/theme file when installing.
1

Unzip the Plugin File

Find the plugin's .zip file on your computer. Right-click and extract its contents to a new folder.
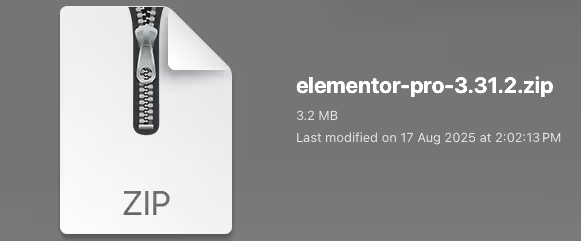
Image showing how to unzip a file
2

Upload the Plugin Folder

Navigate to the wp-content/plugins folder on your website's side. Then, drag and drop the unzipped plugin folder from your computer into this directory.
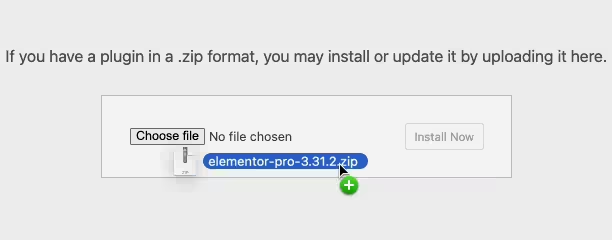
Image of dragging and dropping the plugin folder
3

Activate the Plugin

Finally, log in to your WordPress dashboard. Go to the Plugins menu. You should see your new plugin listed. Click Activate to finish the installation.
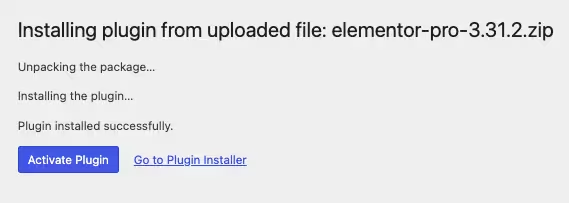
Image of the WordPress plugins page with the activate button highlighted

PureGPL ensures you have all the tools and support you need for seamless installations and updates!

For any installation or technical-related queries, Please contact via Live Chat or Support Ticket.