Changelog
Total Products – 20704

Wp all import | WooCommerce

star star star star star_half 4.5/5 based on 100 reviews
schedule

Updated on: August 6, 2025

code

Version 4.0.5

Wp all import | WooCommerce
GPL License
VirusTotal Scan: View Report
Updated On: August 6, 2025
Version: 4.0.5
Downloads: 12
Status: verified_user Secure & Clean
Have a problem? bug_report Report Click here to report any issues with the product.

Single Purchase

Buy this product once and own it forever.

199

Membership

Unlock everything on the site for one low price.

912 / month SAVE 90%

Product Overview

About Wp all import | WooCommerce

Introduction

Are you looking to effortlessly import and export data to and from your WooCommerce store? Look no further than the Wp All Import plugin. This powerful tool simplifies the process of managing your WooCommerce store by allowing you to easily import and export product, customer, and order data. In this blog post, we will explore the many features of the Wp All Import plugin and how it can benefit your WooCommerce store.

Why Choose Wp All Import for WooCommerce?

Wp All Import is a versatile and user-friendly plugin that is specifically designed to work seamlessly with WooCommerce. Whether you are looking to import products from a CSV file, update product prices in bulk, or sync your inventory levels with an external system, Wp All Import has got you covered. Its intuitive drag-and-drop interface makes it easy to map your data fields to the corresponding fields in WooCommerce, saving you time and hassle.

Key Features of Wp All Import for WooCommerce

Some of the key features of Wp All Import for WooCommerce include:

  • Support for importing and exporting a wide range of data types, including products, customers, and orders.
  • Automated scheduled imports to keep your store up to date without manual intervention.
  • Advanced mapping options that allow you to customize how your data is imported into WooCommerce.
  • Compatibility with popular extensions such as WooCommerce Subscriptions and WooCommerce Bookings.

How to Get Started with Wp All Import

Getting started with Wp All Import for WooCommerce is easy. Simply install the plugin from the WordPress repository, activate it, and you're ready to go. The plugin comes with comprehensive documentation and video tutorials to help you get up and running quickly. Whether you are a beginner or an experienced user, you will find the Wp All Import interface intuitive and easy to use.

Benefits of Using Wp All Import for WooCommerce

By using Wp All Import for WooCommerce, you can streamline your store management processes and save valuable time and resources. Whether you are importing products from a supplier or updating prices across your product catalog, Wp All Import makes it easy to keep your store data accurate and up to date. Its robust features and seamless integration with WooCommerce make it a must-have tool for store owners looking to stay ahead of the competition.

Conclusion

In conclusion, Wp All Import is a powerful tool that can help you take your WooCommerce store to the next level. Its intuitive interface, advanced features, and seamless integration with WooCommerce make it a valuable asset for store owners looking to simplify their store management processes. Whether you are a small boutique shop or a large e-commerce store, Wp All Import has the tools you need to succeed. Try it out today and see the difference it can make for your store!

Installation & Usage Guide

What You'll Need

  • After downloading from our website, first unzip the file. Inside, you may find extra items like templates or documentation. Make sure to use the correct plugin/theme file when installing.
1

Unzip the Plugin File

Find the plugin's .zip file on your computer. Right-click and extract its contents to a new folder.

Image showing how to unzip a file
2

Upload the Plugin Folder

Navigate to the wp-content/plugins folder on your website's side. Then, drag and drop the unzipped plugin folder from your computer into this directory.
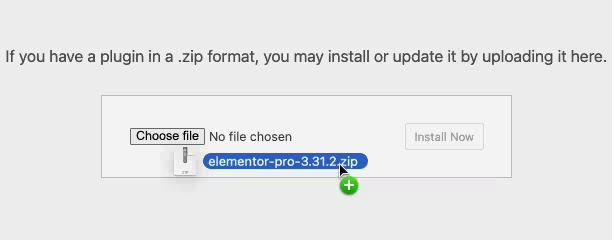
Image of dragging and dropping the plugin folder
3

Activate the Plugin

Finally, log in to your WordPress dashboard. Go to the Plugins menu. You should see your new plugin listed. Click Activate to finish the installation.
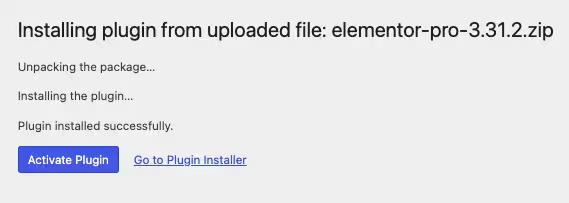
Image of the WordPress plugins page with the activate button highlighted

PureGPL ensures you have all the tools and support you need for seamless installations and updates!

For any installation or technical-related queries, Please contact via Live Chat or Support Ticket.