Shipper Pro – Migrate your WordPress Websites with One Click
Updated on: April 8, 2024
Version 1.2.16

Single Purchase
Buy this product once and own it forever.
Membership
Unlock everything on the site for one low price.
Product Overview
Shipper Pro is the ultimate solution for effortless WordPress website migration. With just one click, you can transfer your entire site, including themes, plugins, and content, from one location to another without any hassle. This plugin is designed for both beginners and seasoned developers, making the migration process smooth and efficient. Plus, it ensures that all your data remains intact and secure throughout the transfer. What makes it stand out is its user-friendly interface and reliable performance, allowing you to focus on your website's growth rather than the technicalities of moving it. Say goodbye to complicated migration procedures and embrace the simplicity of Shipper Pro!
Key Features
- One-click migration process for quick and easy transfers.
- Preserves all your themes, plugins, and content seamlessly.
- User-friendly interface suitable for all skill levels.
- Secure data transfer ensuring no loss during the migration.
- Compatible with a wide range of hosting providers.
- Supports migration between local and live servers effortlessly.
- Detailed documentation and support to assist you when needed.
- Regular updates to keep up with the latest WordPress standards.
Installation & Usage Guide
What You'll Need
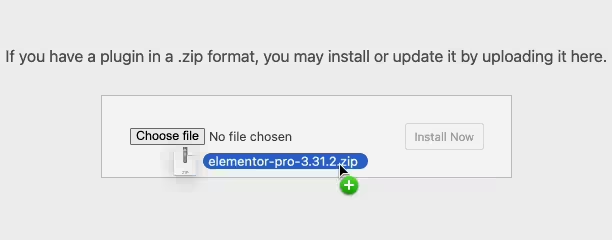
- After downloading from our website, first unzip the file. Inside, you may find extra items like templates or documentation. Make sure to use the correct plugin/theme file when installing.
Unzip the Plugin File
Find the plugin's .zip file on your computer. Right-click and extract its contents to a new folder.

Upload the Plugin Folder
Navigate to the wp-content/plugins folder on your website's side. Then, drag and drop the unzipped plugin folder from your computer into this directory.

Activate the Plugin
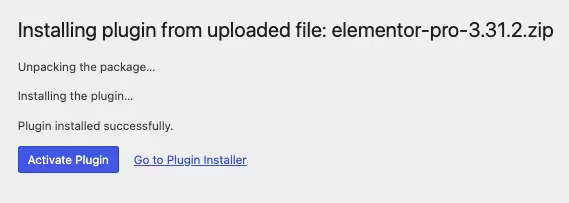
Finally, log in to your WordPress dashboard. Go to the Plugins menu. You should see your new plugin listed. Click Activate to finish the installation.

PureGPL ensures you have all the tools and support you need for seamless installations and updates!
For any installation or technical-related queries, Please contact via Live Chat or Support Ticket.