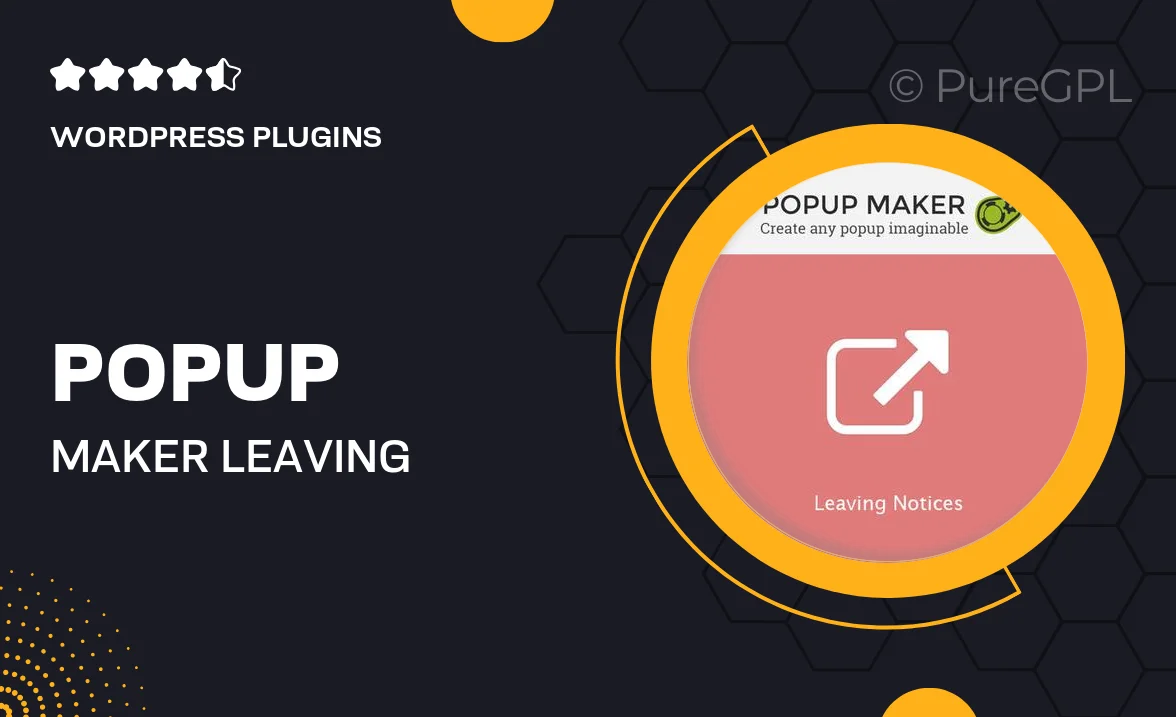
Popup Maker – Leaving Notices
Updated on: May 3, 2024
Version 1.1.2
Single Purchase
Buy this product once and own it forever.
Membership
Unlock everything on the site for one low price.
Product Overview
Popup Maker – Leaving Notices is the perfect tool to engage your visitors right before they exit your site. This plugin allows you to create eye-catching popups that appear when users are about to leave, effectively reducing bounce rates and keeping your audience engaged. With customizable designs and messages, you can convey important information, special offers, or simply remind users to stay a bit longer. Plus, the intuitive interface makes it easy for anyone to set up and manage popups without any coding knowledge.
Key Features
- Smart exit-intent technology to capture attention before users leave.
- Fully customizable popup designs to match your website's branding.
- Targeted messaging options to tailor your popups for specific audiences.
- Analytics tracking to measure the effectiveness of your popups.
- Mobile-responsive popups for a seamless experience across devices.
- Easy integration with popular email marketing services.
- Multiple display triggers for maximum engagement opportunities.
Installation & Usage Guide
What You'll Need
- After downloading from our website, first unzip the file. Inside, you may find extra items like templates or documentation. Make sure to use the correct plugin/theme file when installing.
Unzip the Plugin File
Find the plugin's .zip file on your computer. Right-click and extract its contents to a new folder.
Upload the Plugin Folder
Navigate to the wp-content/plugins folder on your website's side. Then, drag and drop the unzipped plugin folder from your computer into this directory.
Activate the Plugin
Finally, log in to your WordPress dashboard. Go to the Plugins menu. You should see your new plugin listed. Click Activate to finish the installation.
PureGPL ensures you have all the tools and support you need for seamless installations and updates!
For any installation or technical-related queries, Please contact via Live Chat or Support Ticket.