Changelog
Total Products – 20704

Paid memberships pro | Address For Free Levels

star star star star star_half 4.5/5 based on 100 reviews
schedule

Updated on: March 30, 2024

code

Version 0.5

Paid memberships pro | Address For Free Levels
GPL License
VirusTotal Scan: View Report
Updated On: March 30, 2024
Version: 0.5
Downloads: 12
Status: verified_user Secure & Clean
Have a problem? bug_report Report Click here to report any issues with the product.

Single Purchase

Buy this product once and own it forever.

199

Membership

Unlock everything on the site for one low price.

912 / month SAVE 90%

Product Overview

About Paid memberships pro | Address For Free Levels

Paid Memberships Pro: Address for Free Levels

Are you looking to offer free membership levels on your website using Paid Memberships Pro? This blog post will guide you through setting up free membership levels and providing an address for users signing up for these levels.

Setting Up Free Levels in Paid Memberships Pro

Before we dive into the details of providing an address for free levels, let's first understand how to set up free membership levels in Paid Memberships Pro. To create a free level, navigate to the Memberships tab in your WordPress admin dashboard and click on the "Add New Level" button. Select the Free level option and configure the settings for the membership level. You can customize the access controls, content restriction, and duration of the free level to suit your requirements.

Why Provide an Address for Free Levels?

While free levels do not involve any payment, it is essential to collect user information, including their address. Having the address details of users signing up for free levels can be beneficial for several reasons. This information can help you segment your user base, personalize communications, and target specific geographic regions for marketing campaigns. Additionally, having a user's address can assist in verifying their identity and preventing fraudulent sign-ups.

Customizing the Membership Registration Form

To collect the address information from users signing up for free levels, you can customize the membership registration form in Paid Memberships Pro. Navigate to the Memberships > Page Settings in your WordPress admin dashboard and select the "Edit" option for the Membership Checkout page. Using the form builder, you can add additional fields to capture the user's address, such as street address, city, state, and ZIP code. Make sure to mark these fields as required to ensure users provide this information during the registration process.

Managing User Data and Privacy

While collecting user address information is essential for free levels, it is crucial to handle this data responsibly and in compliance with data protection regulations. Ensure that your website has a privacy policy detailing how user data, including addresses, will be used and stored. Implement security measures to protect this sensitive information and allow users to update or delete their address details as needed. Transparency and accountability in managing user data will build trust with your members and enhance the overall user experience.

Conclusion

Offering free membership levels can be a valuable strategy to attract users to your website and grow your membership base. By providing an address field for users signing up for free levels, you can gather valuable information for marketing and communication purposes. Customizing the registration form, managing user data responsibly, and ensuring compliance with privacy regulations are essential steps in leveraging address information effectively. Follow the tips outlined in this blog post to implement free levels with address collection in Paid Memberships Pro successfully.

Installation & Usage Guide

What You'll Need

  • After downloading from our website, first unzip the file. Inside, you may find extra items like templates or documentation. Make sure to use the correct plugin/theme file when installing.
1

Unzip the Plugin File

Find the plugin's .zip file on your computer. Right-click and extract its contents to a new folder.
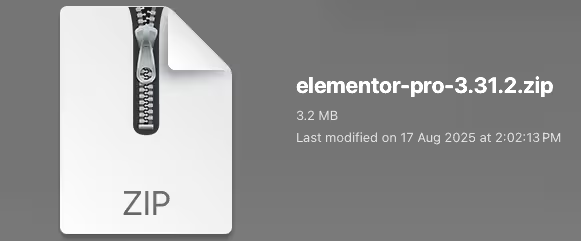
Image showing how to unzip a file
2

Upload the Plugin Folder

Navigate to the wp-content/plugins folder on your website's side. Then, drag and drop the unzipped plugin folder from your computer into this directory.
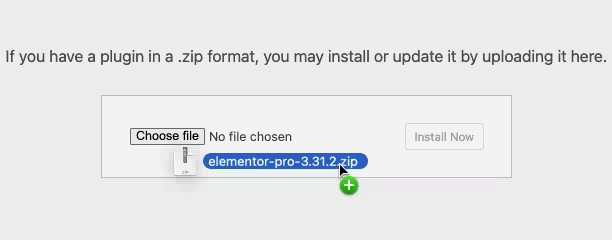
Image of dragging and dropping the plugin folder
3

Activate the Plugin

Finally, log in to your WordPress dashboard. Go to the Plugins menu. You should see your new plugin listed. Click Activate to finish the installation.
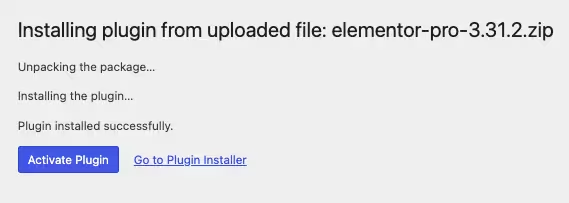
Image of the WordPress plugins page with the activate button highlighted

PureGPL ensures you have all the tools and support you need for seamless installations and updates!

For any installation or technical-related queries, Please contact via Live Chat or Support Ticket.