Changelog
Total Products – 20704

Modula | Defaults

star star star star star_half 4.5/5 based on 100 reviews
schedule

Updated on: August 12, 2025

code

Version 1.2.9

Modula | Defaults
GPL License
VirusTotal Scan: View Report
Updated On: August 12, 2025
Version: 1.2.9
Downloads: 12
Status: verified_user Secure & Clean
Have a problem? bug_report Report Click here to report any issues with the product.

Single Purchase

Buy this product once and own it forever.

199

Membership

Unlock everything on the site for one low price.

912 / month SAVE 90%

Product Overview

About Modula | Defaults

Welcome to Modula | Defaults

Modula is a versatile WordPress gallery plugin that allows you to create stunning galleries for your website. In this blog post, we will be exploring the default settings and features of Modula, helping you understand how to make the most out of this powerful gallery plugin.

Getting Started with Modula

When you first install and activate Modula, you will notice that it comes with some default settings to help you get started quickly. These default settings are designed to provide you with a base configuration for your galleries, but they can be easily customized to suit your specific needs. In this section, we will walk you through the default settings of Modula and how you can adjust them to achieve the desired results.

Default Gallery Layout

Modula offers different layouts for your galleries by default. You can choose from grid, slider, and passport layouts to showcase your images in the most appealing way. Grid layout is the default setting, which displays your images in a grid format. The slider layout allows you to showcase your images in a slideshow, while the passport layout presents your images in a masonry style. You can easily switch between these layouts and customize them according to your preferences.

Default Image Hover Effects

Modula comes with a set of default image hover effects to add an interactive element to your galleries. These effects include zoom in, zoom out, grayscale, blur, and more. By default, Modula applies a zoom in effect to your images when hovered over, but you can easily change this to any other effect that best complements your website's design and aesthetics.

Default Lightbox Settings

Modula offers a lightbox feature by default, allowing your visitors to view your images in a larger size without leaving the page. The lightbox settings include options for animation, captions, and social sharing buttons. You can customize these settings to enhance the user experience and engagement with your galleries.

Customizing the Defaults

While Modula comes with default settings, you have the flexibility to customize them to suit your unique requirements. You can change the number of columns in the grid layout, adjust the animation speed of the slider, or enable/disable specific hover effects. By exploring the settings and features of Modula, you can create galleries that align with your branding and design preferences.

Conclusion

In conclusion, Modula | Defaults provides you with a comprehensive overview of the default settings and features of the Modula gallery plugin. By understanding these defaults and how to customize them, you can create visually stunning galleries that captivate your audience and enhance the user experience on your website. Whether you are a photographer, artist, blogger, or business owner, Modula offers the tools you need to showcase your images in a captivating way.

Installation & Usage Guide

What You'll Need

  • After downloading from our website, first unzip the file. Inside, you may find extra items like templates or documentation. Make sure to use the correct plugin/theme file when installing.
1

Unzip the Plugin File

Find the plugin's .zip file on your computer. Right-click and extract its contents to a new folder.
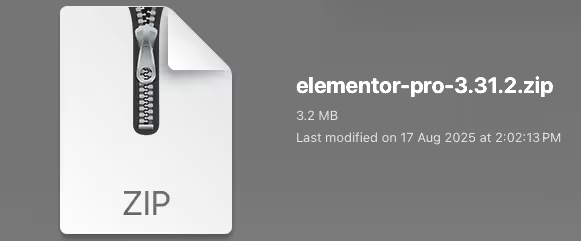
Image showing how to unzip a file
2

Upload the Plugin Folder

Navigate to the wp-content/plugins folder on your website's side. Then, drag and drop the unzipped plugin folder from your computer into this directory.
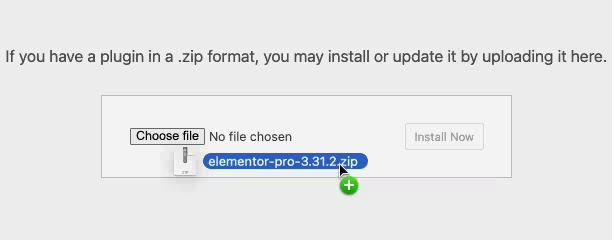
Image of dragging and dropping the plugin folder
3

Activate the Plugin

Finally, log in to your WordPress dashboard. Go to the Plugins menu. You should see your new plugin listed. Click Activate to finish the installation.
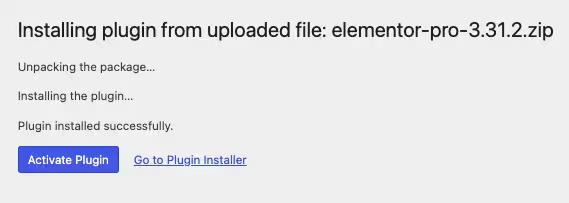
Image of the WordPress plugins page with the activate button highlighted

PureGPL ensures you have all the tools and support you need for seamless installations and updates!

For any installation or technical-related queries, Please contact via Live Chat or Support Ticket.