Changelog Total Products – 20704

Kadence wp | Custom Fonts

star star star star star_half 4.5/5 based on 100 reviews
schedule

Updated on: March 26, 2024

code

Version 1.1.5

Kadence wp | Custom Fonts
GPL License
VirusTotal Scan: View Report
Updated On: March 26, 2024
Version: 1.1.5
Downloads: 12
Status: verified_user Secure & Clean
Have a problem? bug_report Report Click here to report any issues with the product.

Single Purchase

Buy this product once and own it forever.

199

Membership

Unlock everything on the site for one low price.

912 / month SAVE 90%

Product Overview

About Kadence wp | Custom Fonts

Introduction

Kadence WP is a popular WordPress theme that allows users to have full control over their website's design and customization. One of the most attractive features of Kadence WP is its ability to easily incorporate custom fonts into your website design. In this blog post, we will explore the advantages of using custom fonts and how you can implement them with Kadence WP.

Why Use Custom Fonts?

Custom fonts are a great way to personalize your website and make it stand out from the crowd. By choosing unique fonts that align with your brand and style, you can create a more memorable and engaging user experience. Custom fonts also allow you to enhance readability, establish hierarchy, and improve overall design consistency. With Kadence WP, you can easily upload and integrate custom fonts to achieve the desired look and feel for your website.

How to Add Custom Fonts with Kadence WP

Adding custom fonts with Kadence WP is a straightforward process that does not require any coding knowledge. The theme provides a user-friendly interface that allows you to upload and manage custom fonts effortlessly. To get started, you can navigate to the Kadence WP settings and locate the custom fonts section. From there, you can upload your custom font files in various formats such as .woff, .woff2, .ttf, or .otf. Once the fonts are uploaded, you can assign them to different elements on your website, such as headings, paragraphs, or buttons.

Benefits of Using Custom Fonts with Kadence WP

There are several benefits to using custom fonts with Kadence WP. Firstly, custom fonts give your website a unique and professional appearance, helping you establish a strong brand identity. Secondly, custom fonts can improve user engagement and retention by making your content more visually appealing and easier to read. Lastly, custom fonts can enhance the overall design cohesiveness of your website, creating a more polished and sophisticated look.

Best Practices for Using Custom Fonts

While custom fonts can add a lot of value to your website, it is essential to use them strategically to achieve the desired effect. Here are some best practices for using custom fonts with Kadence WP:

  1. Choose fonts that align with your brand and message.
  2. Avoid using too many different fonts to maintain design consistency.
  3. Opt for readable fonts for body text to ensure a positive user experience.
  4. Test your custom fonts on multiple devices and screen sizes to ensure compatibility.

Conclusion

Custom fonts are a powerful tool for enhancing the visual appeal and brand identity of your website. With Kadence WP, you can easily incorporate custom fonts into your design without any hassle. By following best practices and experimenting with different font options, you can create a website that is both aesthetically pleasing and user-friendly. So why wait? Start exploring custom fonts with Kadence WP today and elevate your website design to the next level!

Installation & Usage Guide

What You'll Need

  • After downloading from our website, first unzip the file. Inside, you may find extra items like templates or documentation. Make sure to use the correct plugin/theme file when installing.
1

Unzip the Plugin File

Find the plugin's .zip file on your computer. Right-click and extract its contents to a new folder.
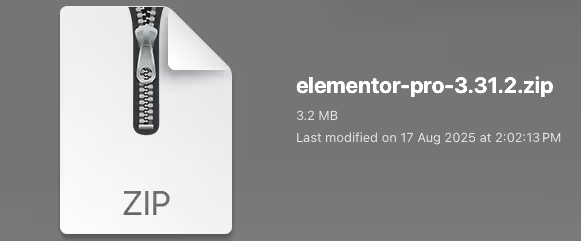
Image showing how to unzip a file
2

Upload the Plugin Folder

Navigate to the wp-content/plugins folder on your website's side. Then, drag and drop the unzipped plugin folder from your computer into this directory.
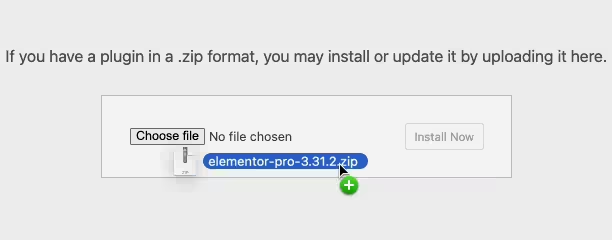
Image of dragging and dropping the plugin folder
3

Activate the Plugin

Finally, log in to your WordPress dashboard. Go to the Plugins menu. You should see your new plugin listed. Click Activate to finish the installation.
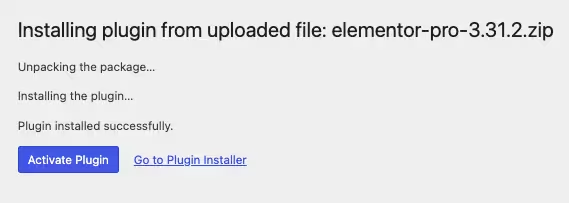
Image of the WordPress plugins page with the activate button highlighted

PureGPL ensures you have all the tools and support you need for seamless installations and updates!

For any installation or technical-related queries, Please contact via Live Chat or Support Ticket.