JetEngine Post Expiration Period Module
Updated on: March 20, 2024
Version 1.1.2

Single Purchase
Buy this product once and own it forever.
Membership
Unlock everything on the site for one low price.
Product Overview
The JetEngine Post Expiration Period Module is a powerful tool designed to enhance your WordPress site by allowing you to manage content visibility based on expiration dates. Whether you're running a blog, a news site, or a membership platform, this module enables you to set a specific timeframe for your posts. Once the expiration date is reached, you can choose to hide, unpublish, or redirect the content, ensuring your audience always receives the most relevant information. Plus, it’s incredibly user-friendly, making it easy for anyone to implement without a steep learning curve.
Key Features
- Set custom expiration dates for individual posts and pages.
- Automatically hide or unpublish outdated content to keep your site fresh.
- Redirect expired posts to a designated URL, enhancing user experience.
- Easy integration with existing JetEngine setups, no coding required.
- Intuitive interface that allows for quick adjustments and settings management.
- Compatible with various themes and plugins for seamless functionality.
- Option to notify admins when content is nearing expiration.
- Flexible settings to choose how expired content is handled: hide, unpublish, or redirect.
Installation & Usage Guide
What You'll Need
- After downloading from our website, first unzip the file. Inside, you may find extra items like templates or documentation. Make sure to use the correct plugin/theme file when installing.
Unzip the Plugin File
Find the plugin's .zip file on your computer. Right-click and extract its contents to a new folder.

Upload the Plugin Folder
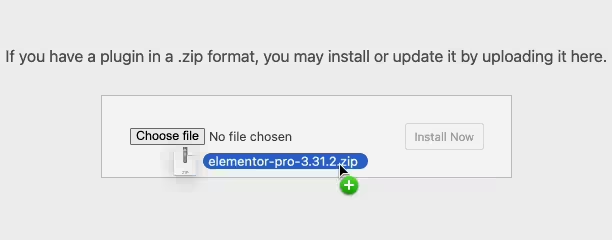
Navigate to the wp-content/plugins folder on your website's side. Then, drag and drop the unzipped plugin folder from your computer into this directory.

Activate the Plugin
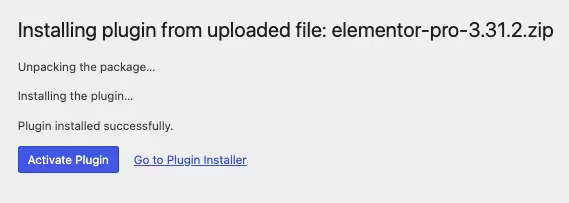
Finally, log in to your WordPress dashboard. Go to the Plugins menu. You should see your new plugin listed. Click Activate to finish the installation.

PureGPL ensures you have all the tools and support you need for seamless installations and updates!
For any installation or technical-related queries, Please contact via Live Chat or Support Ticket.