Gravity perks | Auto List Field
Updated on: November 16, 2025
Version 1.0.7
Single Purchase
Buy this product once and own it forever.
Membership
Unlock everything on the site for one low price.
Product Overview
Introducing Gravity Perks' Auto List Field, a powerful addition to your Gravity Forms toolkit that allows you to create dynamic, auto-populated lists effortlessly. This plugin is perfect for developers and site owners looking to enhance user experience by automatically generating list items based on existing data. With simple configuration options, you can pull information from various sources, such as posts, users, or custom queries. Plus, the intuitive interface ensures that even those with minimal technical skills can set it up quickly. Say goodbye to manual list management and hello to seamless automation!
Key Features
- Auto-populate lists from posts, users, or custom queries.
- User-friendly interface for quick configuration.
- Dynamic updates ensure your lists are always current.
- Customizable display options to match your site’s design.
- Supports multi-select and single-select options for flexibility.
- Works seamlessly with other Gravity Forms add-ons.
- Lightweight and optimized for performance.
- Comprehensive documentation for easy setup and troubleshooting.
Installation & Usage Guide
What You'll Need
- After downloading from our website, first unzip the file. Inside, you may find extra items like templates or documentation. Make sure to use the correct plugin/theme file when installing.
Unzip the Plugin File
Find the plugin's .zip file on your computer. Right-click and extract its contents to a new folder.
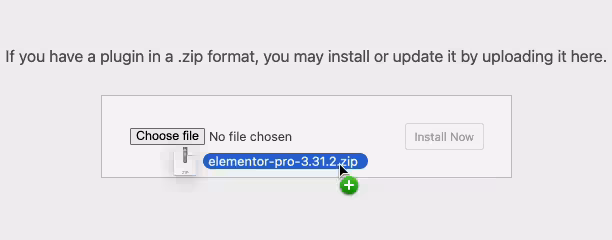
Upload the Plugin Folder
Navigate to the wp-content/plugins folder on your website's side. Then, drag and drop the unzipped plugin folder from your computer into this directory.
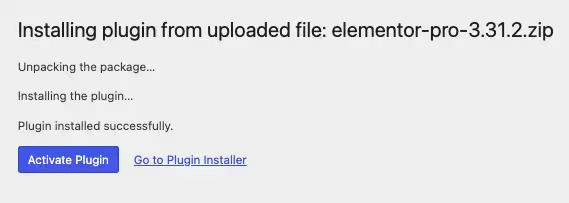
Activate the Plugin
Finally, log in to your WordPress dashboard. Go to the Plugins menu. You should see your new plugin listed. Click Activate to finish the installation.
PureGPL ensures you have all the tools and support you need for seamless installations and updates!
For any installation or technical-related queries, Please contact via Live Chat or Support Ticket.