Changelog
Total Products – 20704

Gravity forms | ConvertKit

star star star star star_half 4.5/5 based on 100 reviews
schedule

Updated on: July 8, 2025

code

Version 1.2.0

Gravity forms | ConvertKit
GPL License
VirusTotal Scan: View Report
Updated On: July 8, 2025
Version: 1.2.0
Downloads: 12
Status: verified_user Secure & Clean
Have a problem? bug_report Report Click here to report any issues with the product.

Single Purchase

Buy this product once and own it forever.

199

Membership

Unlock everything on the site for one low price.

912 / month SAVE 90%

Product Overview

About Gravity forms | ConvertKit

Enhance Your Email Marketing Strategy with Gravity Forms and ConvertKit

Integrating Gravity Forms with ConvertKit offers a powerful solution to streamline your email marketing efforts. By combining the advanced form-building capabilities of Gravity Forms with the robust email automation features of ConvertKit, you can create dynamic lead generation forms and build targeted email campaigns that drive conversions.

Seamless Integration for Effortless Lead Generation

With Gravity Forms and ConvertKit, you can easily capture leads and grow your email subscriber list. By embedding customized forms on your website or landing pages, you can gather valuable contact information from your audience and automatically sync it with your ConvertKit account. This seamless integration eliminates the need for manual data entry and ensures that your leads are promptly added to your email marketing campaigns.

Personalized Email Campaigns to Engage Your Audience

ConvertKit's email automation features allow you to create personalized email campaigns tailored to the specific preferences and behaviors of your subscribers. By segmenting your audience based on their form submissions and interactions, you can deliver targeted content that resonates with each individual recipient. This level of personalization increases engagement and results in higher open and click-through rates for your emails.

Automate Your Email Marketing Workflow

By combining Gravity Forms with ConvertKit, you can automate key aspects of your email marketing workflow. From sending automated welcome sequences to nurturing leads with targeted follow-up emails, ConvertKit's automation capabilities allow you to engage your audience at every stage of the customer journey. By setting up rules and triggers based on form submissions, you can ensure that the right message reaches the right person at the right time.

Track and Optimize Your Email Campaign Performance

With ConvertKit's robust reporting and analytics tools, you can track the performance of your email campaigns in real-time. From monitoring open and click rates to analyzing subscriber engagement, ConvertKit provides valuable insights that help you optimize your email marketing strategy. By leveraging this data alongside Gravity Forms' form tracking features, you can gain a comprehensive understanding of your audience and make data-driven decisions to improve your campaign performance.

Conclusion

Gravity Forms and ConvertKit offer a powerful combination for enhancing your email marketing strategy. By integrating these two tools, you can streamline your lead generation efforts, personalize your email campaigns, automate your workflow, and track performance to achieve your marketing goals. Whether you're looking to grow your subscriber list, nurture leads, or drive conversions, Gravity Forms and ConvertKit provide the features and functionality you need to succeed in today's competitive digital landscape.

Installation & Usage Guide

What You'll Need

  • After downloading from our website, first unzip the file. Inside, you may find extra items like templates or documentation. Make sure to use the correct plugin/theme file when installing.
1

Unzip the Plugin File

Find the plugin's .zip file on your computer. Right-click and extract its contents to a new folder.

Image showing how to unzip a file
2

Upload the Plugin Folder

Navigate to the wp-content/plugins folder on your website's side. Then, drag and drop the unzipped plugin folder from your computer into this directory.
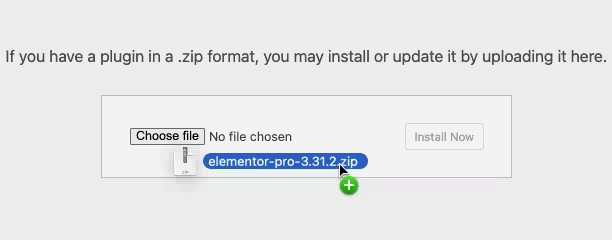
Image of dragging and dropping the plugin folder
3

Activate the Plugin

Finally, log in to your WordPress dashboard. Go to the Plugins menu. You should see your new plugin listed. Click Activate to finish the installation.
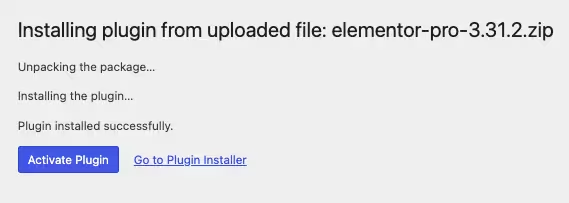
Image of the WordPress plugins page with the activate button highlighted

PureGPL ensures you have all the tools and support you need for seamless installations and updates!

For any installation or technical-related queries, Please contact via Live Chat or Support Ticket.