Changelog
Total Products – 20704
star star star star star_half 4.5/5 based on 100 reviews
schedule

Updated on: September 4, 2025

code

Version 5.1.2

FlyingPress
GPL License
VirusTotal Scan: View Report
Updated On: September 4, 2025
Version: 5.1.2
Downloads: 12
Status: verified_user Secure & Clean
Have a problem? bug_report Report Click here to report any issues with the product.

Single Purchase

Buy this product once and own it forever.

199

Membership

Unlock everything on the site for one low price.

912 / month SAVE 90%

Product Overview

About FlyingPress

Introduction

FlyingPress is a powerful and innovative WordPress plugin that aims to significantly enhance the performance and speed of your website. With its cutting-edge technology and intelligent caching mechanisms, FlyingPress ensures that your WordPress site loads lightning-fast, providing an exceptional user experience for visitors.

Key Features

FlyingPress comes packed with a wide range of features designed to optimize your website's performance. These include:
  • Dynamic Caching: FlyingPress intelligently caches dynamic content, reducing server load and improving response time.
  • Gzip Compression: The plugin automatically compresses your website's output, reducing file size and speeding up page load times.
  • Lazy Loading: FlyingPress enables lazy loading of images, videos, and other media files, ensuring that only the content that is visible to users is loaded, saving bandwidth and improving performance.
  • Browser Caching: The plugin sets up browser caching rules, allowing returning visitors to load your site even faster by storing static content locally.
  • Preloading: FlyingPress offers preloading options to ensure that your website's pages are always cached and ready to be served instantly to users.

Benefits

By using FlyingPress, you can enjoy numerous benefits that will have a significant impact on your WordPress website:
  • Improved Page Load Time: FlyingPress optimizes your website's performance, resulting in faster page load times and reduced bounce rates.
  • Enhanced User Experience: With faster page loads, your visitors will have a seamless browsing experience, leading to increased engagement and higher conversion rates.
  • Increased Search Engine Rankings: Google and other search engines consider website speed as a ranking factor, and FlyingPress can help improve your site's load times, potentially boosting your search engine rankings.
  • Reduced Server Resources: By caching dynamic content and compressing files, FlyingPress reduces the load on your server, allowing it to handle more traffic without slowing down.

Installation and Setup

Getting started with FlyingPress is quick and easy. Simply follow these steps:
  1. Download and install the FlyingPress plugin from the WordPress repository or via the plugins section in your WordPress dashboard.
  2. Activate the plugin.
  3. Go to the FlyingPress settings page and configure the caching options according to your preferences.
  4. Save your changes, and FlyingPress will start optimizing your website's performance automatically.

Conclusion

FlyingPress is a game-changing WordPress plugin that takes website optimization to the next level. By leveraging advanced caching mechanisms, compression techniques, and other performance optimizations, FlyingPress allows you to provide a lightning-fast browsing experience to your visitors. With its easy installation process and user-friendly interface, FlyingPress is a must-have tool for anyone looking to boost their website's speed and performance. Try FlyingPress today and see the difference it can make for your WordPress site!

Installation & Usage Guide

What You'll Need

  • After downloading from our website, first unzip the file. Inside, you may find extra items like templates or documentation. Make sure to use the correct plugin/theme file when installing.
1

Unzip the Plugin File

Find the plugin's .zip file on your computer. Right-click and extract its contents to a new folder.
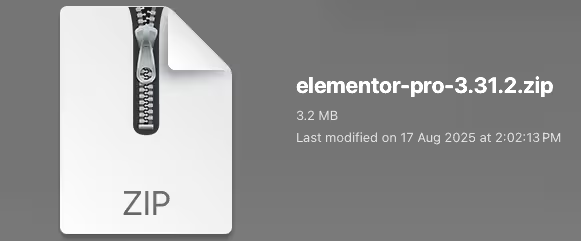
Image showing how to unzip a file
2

Upload the Plugin Folder

Navigate to the wp-content/plugins folder on your website's side. Then, drag and drop the unzipped plugin folder from your computer into this directory.
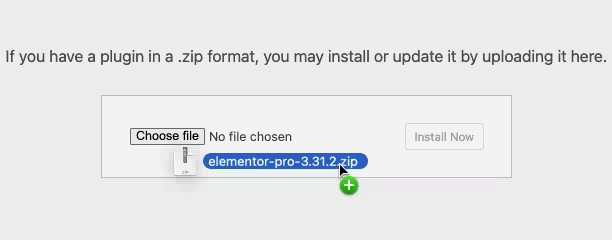
Image of dragging and dropping the plugin folder
3

Activate the Plugin

Finally, log in to your WordPress dashboard. Go to the Plugins menu. You should see your new plugin listed. Click Activate to finish the installation.
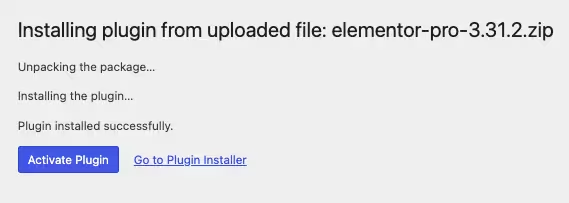
Image of the WordPress plugins page with the activate button highlighted

PureGPL ensures you have all the tools and support you need for seamless installations and updates!

For any installation or technical-related queries, Please contact via Live Chat or Support Ticket.