Changelog Total Products – 20704

Envira gallery | NextGEN Importer

star star star star star_half 4.5/5 based on 100 reviews
schedule

Updated on: February 14, 2024

code

Version 1.2.6

Envira gallery | NextGEN Importer
GPL License
VirusTotal Scan: View Report
Updated On: May 20, 2024
Version: 2.1.0
Downloads: 12
Status: verified_user Secure & Clean
Have a problem? bug_report Report Click here to report any issues with the product.

Single Purchase

Buy this product once and own it forever.

199

Membership

Unlock everything on the site for one low price.

912 / month SAVE 90%

Product Overview

About Envira gallery | NextGEN Importer

What is Envira Gallery?

Envira Gallery is a feature-rich WordPress plugin designed to help users create stunning image and video galleries easily. With its user-friendly interface and extensive customization options, Envira Gallery allows users to showcase their visual content in a professional and engaging way.

Introducing NextGEN Importer

NextGEN Importer is a powerful add-on for Envira Gallery that allows users to seamlessly import their image galleries from NextGEN Gallery into Envira. With just a few clicks, users can transfer their existing galleries and continue to manage and display them using Envira's advanced features and functionalities.

Smooth and Hassle-Free Gallery Migration

Migrating galleries from NextGEN Gallery to Envira is a breeze with the NextGEN Importer. Simply install and activate the add-on, and follow the step-by-step instructions to import your galleries. The process is quick and efficient, ensuring that you can start using Envira Gallery without any delays or complications.

Preserve Gallery Settings and Metadata

NextGEN Importer not only imports your galleries, but it also preserves all the settings and metadata associated with each gallery. This means that the layout, styling, and other customization options you have set in NextGEN Gallery will be seamlessly transferred to Envira Gallery. You won't have to spend extra time recreating your galleries or tweaking their appearance.

Take Advantage of Envira's Advanced Features

By migrating to Envira Gallery, you gain access to a wide range of advanced features that can enhance the visual appeal and functionality of your galleries. With Envira's drag-and-drop builder, you can easily arrange and rearrange your images and videos to create the perfect gallery layout. The add-on is also fully compatible with Envira's other features, such as image protection, deeplinking, and social media integration.

Easily Customize and Optimize Your Galleries

Envira Gallery offers extensive customization options that allow you to tailor your galleries to suit your brand or website's aesthetics. With just a few clicks, you can change the gallery's colors, fonts, thumbnail sizes, and more. Additionally, Envira's built-in optimization features ensure that your galleries load quickly and seamlessly, improving the user experience and reducing bounce rates.

Effortlessly Manage and Display Your Galleries

Envira Gallery's user-friendly interface makes it easy to manage and display your galleries. The plugin offers a centralized dashboard where you can organize and categorize your galleries, making it simple to locate and modify specific galleries. Envira also offers various gallery display options, such as lightbox, slideshow, fullscreen, and more, allowing you to showcase your visual content in the most engaging and impactful way possible.

Conclusion

NextGEN Importer is an essential add-on for Envira Gallery users who want to transition smoothly from NextGEN Gallery. With its seamless migration process, preservation of gallery settings and metadata, and compatibility with Envira's advanced features, NextGEN Importer ensures a hassle-free transition and enables users to fully leverage the power of Envira Gallery's features and functionalities.

Installation & Usage Guide

What You'll Need

  • After downloading from our website, first unzip the file. Inside, you may find extra items like templates or documentation. Make sure to use the correct plugin/theme file when installing.
1

Unzip the Plugin File

Find the plugin's .zip file on your computer. Right-click and extract its contents to a new folder.

Image showing how to unzip a file
2

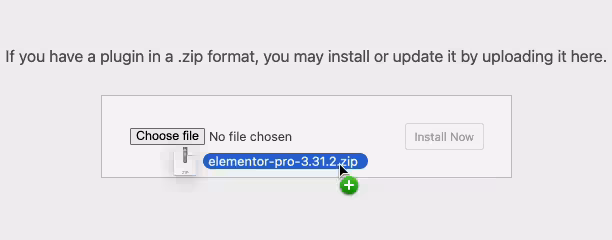
Upload the Plugin Folder

Navigate to the wp-content/plugins folder on your website's side. Then, drag and drop the unzipped plugin folder from your computer into this directory.
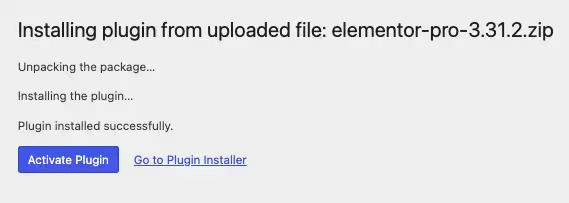
Image of dragging and dropping the plugin folder
3

Activate the Plugin

Finally, log in to your WordPress dashboard. Go to the Plugins menu. You should see your new plugin listed. Click Activate to finish the installation.

Image of the WordPress plugins page with the activate button highlighted

PureGPL ensures you have all the tools and support you need for seamless installations and updates!

For any installation or technical-related queries, Please contact via Live Chat or Support Ticket.