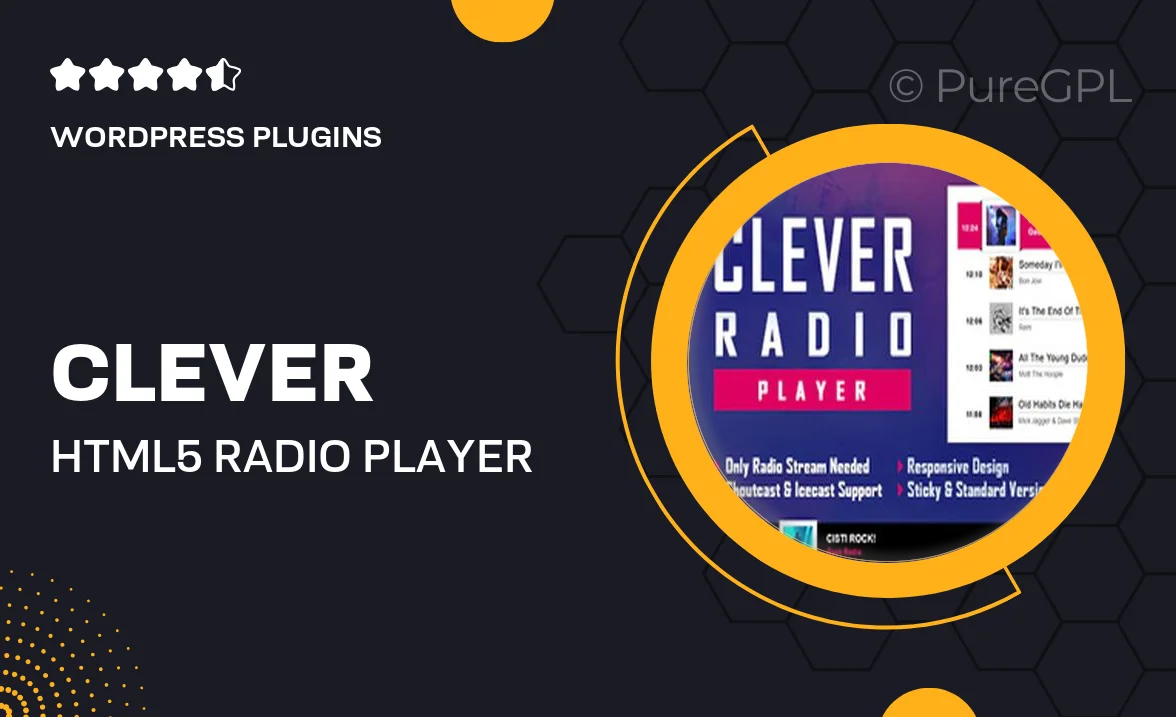
CLEVER – HTML5 Radio Player With History – Shoutcast and Icecast – Elementor Widget Addon
Updated on: January 24, 2026
Version 2.5.1
Single Purchase
Buy this product once and own it forever.
Membership
Unlock everything on the site for one low price.
Product Overview
CLEVER is an innovative HTML5 radio player that seamlessly integrates with your website, offering a sleek and modern design. Ideal for both Shoutcast and Icecast streaming, this player not only enhances your site's audio experience but also includes a history feature that keeps listeners engaged. Built as an Elementor widget addon, it allows for easy customization without any coding skills needed. Plus, its responsive design ensures that your radio player looks great on any device, from desktops to mobile phones. With CLEVER, you can elevate your online presence and connect with your audience through high-quality audio streaming.
Key Features
- Supports both Shoutcast and Icecast streaming for versatile use.
- History feature to keep your audience updated on past tracks.
- Easy integration with Elementor, perfect for non-coders.
- Responsive design ensures optimal viewing on any device.
- Customizable player styles to match your website's aesthetics.
- Lightweight and fast-loading for an uninterrupted listening experience.
- Built-in play, pause, and volume controls for user convenience.
- Regular updates and support to keep your player running smoothly.
Installation & Usage Guide
What You'll Need
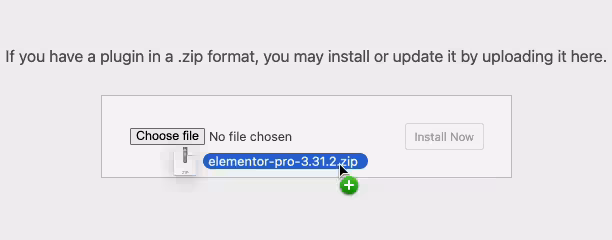
- After downloading from our website, first unzip the file. Inside, you may find extra items like templates or documentation. Make sure to use the correct plugin/theme file when installing.
Unzip the Plugin File
Find the plugin's .zip file on your computer. Right-click and extract its contents to a new folder.
Upload the Plugin Folder
Navigate to the wp-content/plugins folder on your website's side. Then, drag and drop the unzipped plugin folder from your computer into this directory.
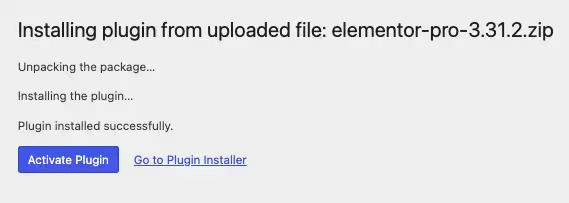
Activate the Plugin
Finally, log in to your WordPress dashboard. Go to the Plugins menu. You should see your new plugin listed. Click Activate to finish the installation.
PureGPL ensures you have all the tools and support you need for seamless installations and updates!
For any installation or technical-related queries, Please contact via Live Chat or Support Ticket.