Changelog
Total Products – 20704

Wpforms | Webhooks

star star star star star_half 4.5/5 based on 100 reviews
schedule

Updated on: April 8, 2024

code

Version 1.4.0

Wpforms | Webhooks
GPL License
VirusTotal Scan: View Report
Updated On: April 8, 2024
Version: 1.4.0
Downloads: 12
Status: verified_user Secure & Clean
Have a problem? bug_report Report Click here to report any issues with the product.

Single Purchase

Buy this product once and own it forever.

$ 3.49

Membership

Unlock everything on the site for one low price.

$ 16 / month SAVE 90%

Product Overview

About Wpforms | Webhooks

Introduction

Wpforms is a popular WordPress plugin that allows users to create powerful forms for their websites. One of the most recent and exciting features added to Wpforms is webhooks integration. Webhooks are a way for one application to send real-time data to another application, allowing for seamless integration between different systems. In this blog post, we will explore how Wpforms and webhooks can work together to enhance your website functionality.

What are Webhooks?

Webhooks are a method for web applications to communicate with each other in real-time. When a certain event occurs in one application, a webhook can trigger an action in another application, sending data instantly without the need for polling or constant checking. This allows for efficient and timely data transfer between systems, making webhooks a powerful tool for integration.

Why Use Webhooks with Wpforms?

Integrating webhooks with Wpforms can bring a range of benefits for website owners. By setting up webhooks, you can automate processes, such as sending form data to third-party applications, updating databases, triggering notifications, and much more. This can streamline workflows, reduce manual tasks, and improve the overall efficiency of your website.

Setting Up Webhooks with Wpforms

Setting up webhooks with Wpforms is a straightforward process. First, you will need to create a webhook URL in the application you want to send data to. Then, in your Wpforms settings, you can add the webhook URL and configure the form fields you want to send. Once configured, your form submissions will be automatically sent to the designated application whenever a form is submitted.

Examples of Webhooks Integration with Wpforms

There are countless ways you can use webhooks with Wpforms to enhance your website functionality. For example, you could integrate with a CRM system to automatically add form submissions as leads, connect with an email marketing platform to trigger automated follow-up emails, or sync form data with a project management tool to create new tasks. The possibilities are endless, and the flexibility of webhooks allows for creative and custom integrations.

Best Practices for Webhooks Integration

When integrating webhooks with Wpforms, there are some best practices to keep in mind. It's essential to ensure that the receiving application can handle the incoming data format and that proper security measures are in place to protect sensitive information. Additionally, thorough testing and monitoring of the webhook integration are crucial to identify and address any issues promptly.

Conclusion

In conclusion, webhooks integration with Wpforms offers a powerful way to connect your website with other applications and automate processes. By utilizing webhooks, you can streamline workflows, enhance user experience, and unlock new possibilities for your website. If you haven't explored webhooks with Wpforms yet, now is the perfect time to dive in and discover the benefits of this innovative integration.

Installation & Usage Guide

What You'll Need

  • After downloading from our website, first unzip the file. Inside, you may find extra items like templates or documentation. Make sure to use the correct plugin/theme file when installing.
1

Unzip the Plugin File

Find the plugin's .zip file on your computer. Right-click and extract its contents to a new folder.

Image showing how to unzip a file
2

Upload the Plugin Folder

Navigate to the wp-content/plugins folder on your website's side. Then, drag and drop the unzipped plugin folder from your computer into this directory.
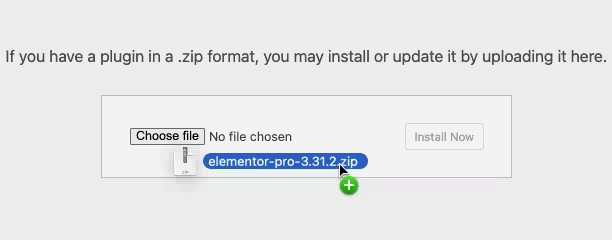
Image of dragging and dropping the plugin folder
3

Activate the Plugin

Finally, log in to your WordPress dashboard. Go to the Plugins menu. You should see your new plugin listed. Click Activate to finish the installation.
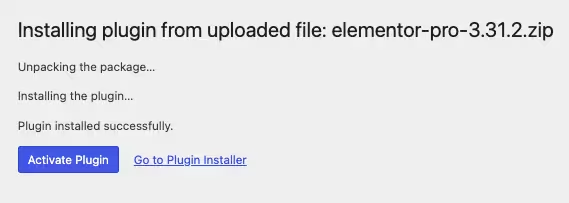
Image of the WordPress plugins page with the activate button highlighted

PureGPL ensures you have all the tools and support you need for seamless installations and updates!

For any installation or technical-related queries, Please contact via Live Chat or Support Ticket.