Changelog
Total Products – 20704

Wpforms | User Journey

star star star star star_half 4.5/5 based on 100 reviews
schedule

Updated on: April 3, 2025

code

Version 1.4.0

Wpforms | User Journey
GPL License
VirusTotal Scan: View Report
Updated On: April 3, 2025
Version: 1.4.0
Downloads: 12
Status: verified_user Secure & Clean
Have a problem? bug_report Report Click here to report any issues with the product.

Single Purchase

Buy this product once and own it forever.

199

Membership

Unlock everything on the site for one low price.

912 / month SAVE 90%

Product Overview

About Wpforms | User Journey

Introduction

Are you curious about the user journey while using Wpforms? In this blog, we will explore the various stages a user goes through when using Wpforms, a popular plugin for WordPress that helps create contact forms, surveys, payments, and more.

First Interaction with Wpforms

For many users, their journey with Wpforms starts with their first interaction with the plugin. They might discover it through a recommendation, a search on the WordPress plugin directory, or by coming across a website that uses Wpforms for its contact form. This initial introduction sets the stage for the user to explore the features and functionalities of Wpforms.

Exploring Features and Functionalities

Once a user installs Wpforms on their WordPress site, they begin to explore the various features and functionalities it offers. From creating simple contact forms to designing complex surveys and integrating payment options, users can unleash their creativity with Wpforms. The intuitive user interface and drag-and-drop builder make it easy for users to customize their forms according to their specific needs.

Customization and Personalization

Customization and personalization are key aspects of the user journey with Wpforms. Users can customize their forms by adding different form fields, choosing pre-designed templates, and configuring settings such as notifications and confirmations. The ability to personalize forms with custom CSS, branding elements, and conditional logic further enhances the user experience and allows users to create forms that align with their brand identity.

Integration with Third-Party Tools

Another important stage in the user journey with Wpforms is the integration with third-party tools. Wpforms seamlessly integrates with popular email marketing services, payment gateways, CRM systems, and more, enabling users to streamline their workflows and automate processes. This integration capability enhances the functionality of Wpforms and offers users a comprehensive solution for their form-building needs.

Optimization and Performance Tracking

Once users have created and integrated their forms, the next step in the user journey is optimization and performance tracking. Wpforms provides users with analytics and reporting tools that allow them to track form submissions, conversion rates, and user engagement. By analyzing this data, users can optimize their forms for better performance and achieve their desired outcomes.

Conclusion

In conclusion, the user journey with Wpforms is a dynamic and engaging process that enables users to create, customize, integrate, and optimize forms with ease. By understanding the various stages of the user journey, users can make the most of Wpforms and leverage its capabilities to enhance their online presence and achieve their goals.

Installation & Usage Guide

What You'll Need

  • After downloading from our website, first unzip the file. Inside, you may find extra items like templates or documentation. Make sure to use the correct plugin/theme file when installing.
1

Unzip the Plugin File

Find the plugin's .zip file on your computer. Right-click and extract its contents to a new folder.
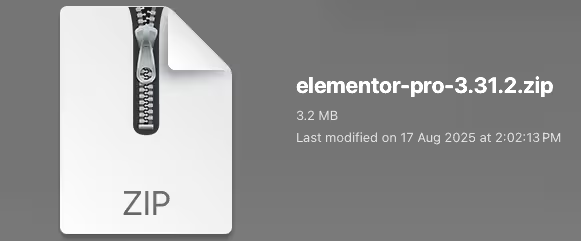
Image showing how to unzip a file
2

Upload the Plugin Folder

Navigate to the wp-content/plugins folder on your website's side. Then, drag and drop the unzipped plugin folder from your computer into this directory.
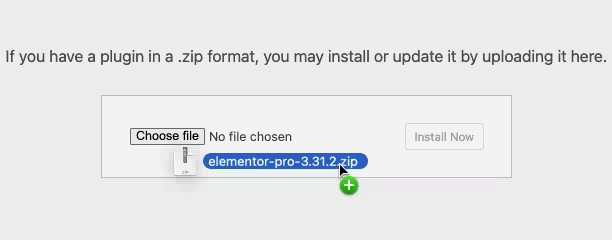
Image of dragging and dropping the plugin folder
3

Activate the Plugin

Finally, log in to your WordPress dashboard. Go to the Plugins menu. You should see your new plugin listed. Click Activate to finish the installation.
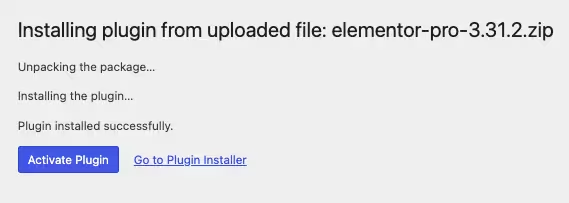
Image of the WordPress plugins page with the activate button highlighted

PureGPL ensures you have all the tools and support you need for seamless installations and updates!

For any installation or technical-related queries, Please contact via Live Chat or Support Ticket.