Changelog
Total Products – 20704

WPForms – Mailchimp

star star star star star_half 4.5/5 based on 100 reviews
schedule

Updated on: July 9, 2025

code

Version 2.5.1

WPForms – Mailchimp
GPL License
VirusTotal Scan: View Report
Updated On: July 9, 2025
Version: 2.5.1
Downloads: 27
Status: verified_user Secure & Clean
Have a problem? bug_report Report Click here to report any issues with the product.

Single Purchase

Buy this product once and own it forever.

$ 3.49

Membership

Unlock everything on the site for one low price.

$ 16 / month SAVE 90%

Product Overview

Product Description

About WPForms – Mailchimp

WPForms is a popular WordPress plugin that allows you to create custom forms on your website, making it easy for visitors to contact you, subscribe to your newsletter, or make a purchase. One of the many integrations that WPForms offers is with Mailchimp, a powerful email marketing platform that allows you to create and send professional newsletters to your subscribers. By integrating WPForms with Mailchimp, you can streamline your email marketing efforts and grow your subscriber list effortlessly. With just a few simple steps, you can connect your WPForms account with Mailchimp and start capturing leads directly from your forms. The integration between WPForms and Mailchimp allows you to automatically add new form submissions as subscribers to your Mailchimp lists. This means that whenever someone fills out a form on your website, their contact information will be automatically added to your Mailchimp account, saving you time and effort. In addition to adding new subscribers, WPForms also allows you to update existing subscribers in Mailchimp. This means that if someone fills out a form with updated information, their details will be automatically synced with their existing profile in Mailchimp. No more manual updates or duplicate records to worry about. When setting up your Mailchimp integration with WPForms, you have full control over how form submissions are handled. You can choose to enable double opt-in, which requires new subscribers to confirm their email address before being added to your list. This helps to ensure that you are building a high-quality, engaged subscriber list. You can also map form fields to Mailchimp list fields, allowing you to collect additional information from your subscribers. For example, if you have a newsletter signup form, you can include fields for name, email address, and any other information that you want to collect. When someone fills out the form, their information will be added to the corresponding fields in Mailchimp, making it easy for you to segment your list and send targeted email campaigns. Another useful feature of the WPForms and Mailchimp integration is the ability to enable conditional logic. This allows you to show or hide form fields based on certain conditions, making your forms more dynamic and interactive. For example, you can show or hide specific fields based on a user's answer to a previous question. This helps to ensure that you are capturing the right information from your visitors and providing them with a personalized experience. Overall, the WPForms and Mailchimp integration is a powerful tool for any website owner who wants to grow their email list and engage with their subscribers. By automating the process of adding and updating subscribers, you can focus on creating valuable content and building relationships with your audience. Whether you want to create a simple contact form or a complex lead generation form, WPForms and Mailchimp have you covered.

Installation & Usage Guide

What You'll Need

  • After downloading from our website, first unzip the file. Inside, you may find extra items like templates or documentation. Make sure to use the correct plugin/theme file when installing.
1

Unzip the Plugin File

Find the plugin's .zip file on your computer. Right-click and extract its contents to a new folder.

Image showing how to unzip a file
2

Upload the Plugin Folder

Navigate to the wp-content/plugins folder on your website's side. Then, drag and drop the unzipped plugin folder from your computer into this directory.
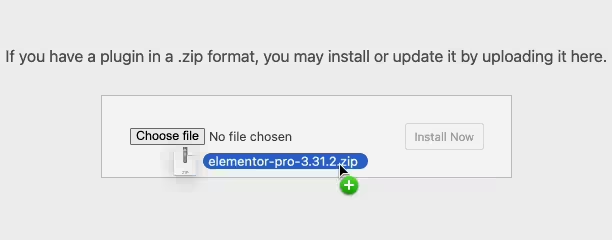
Image of dragging and dropping the plugin folder
3

Activate the Plugin

Finally, log in to your WordPress dashboard. Go to the Plugins menu. You should see your new plugin listed. Click Activate to finish the installation.
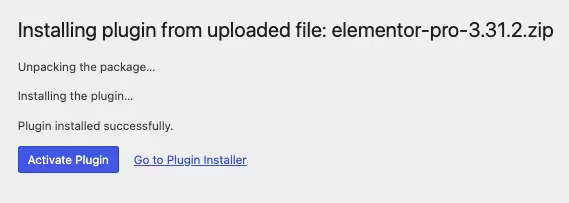
Image of the WordPress plugins page with the activate button highlighted

PureGPL ensures you have all the tools and support you need for seamless installations and updates!

For any installation or technical-related queries, Please contact via Live Chat or Support Ticket.