Woocommerce | Storewide Sale
Updated on: September 7, 2025
Version 1.0.8

Single Purchase
Buy this product once and own it forever.
Membership
Unlock everything on the site for one low price.
Product Overview
Transform your online store with the WooCommerce Storewide Sale plugin, designed to effortlessly boost your sales and engage your customers. With this powerful tool, you can create attractive discounts across your entire store or select specific products with just a few clicks. Plus, the intuitive interface allows you to manage your promotions without any hassle, saving you valuable time. What makes it stand out is its flexibility; you can customize sale durations, set percentage or fixed amount discounts, and even schedule future sales. Elevate your eCommerce business and watch your revenue grow with this essential addition to your WooCommerce toolkit.
Key Features
- Easy setup for storewide discounts with a user-friendly interface.
- Customize discount types—choose between percentage or fixed amount.
- Schedule sales in advance to align with marketing campaigns.
- Apply discounts to specific categories or products for targeted promotions.
- Real-time updates to reflect discounts on product pages and cart.
- Seamless integration with existing WooCommerce functionalities.
- Boost customer engagement with countdown timers for urgency.
- Track sales performance and customer response through analytics.
Installation & Usage Guide
What You'll Need
- After downloading from our website, first unzip the file. Inside, you may find extra items like templates or documentation. Make sure to use the correct plugin/theme file when installing.
Unzip the Plugin File
Find the plugin's .zip file on your computer. Right-click and extract its contents to a new folder.

Upload the Plugin Folder
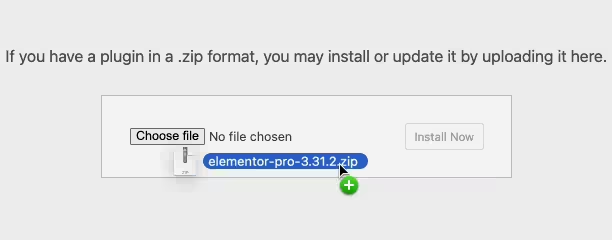
Navigate to the wp-content/plugins folder on your website's side. Then, drag and drop the unzipped plugin folder from your computer into this directory.

Activate the Plugin
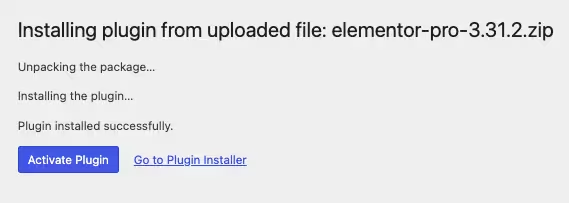
Finally, log in to your WordPress dashboard. Go to the Plugins menu. You should see your new plugin listed. Click Activate to finish the installation.

PureGPL ensures you have all the tools and support you need for seamless installations and updates!
For any installation or technical-related queries, Please contact via Live Chat or Support Ticket.