Changelog
Total Products – 20704

Woocommerce | Mollie Payments

star star star star star_half 4.5/5 based on 100 reviews
schedule

Updated on: September 6, 2024

code

Version 7.8.0

Woocommerce | Mollie Payments
GPL License
VirusTotal Scan: View Report
Updated On: September 6, 2024
Version: 7.8.0
Downloads: 12
Status: verified_user Secure & Clean
Have a problem? bug_report Report Click here to report any issues with the product.

Single Purchase

Buy this product once and own it forever.

$ 3.49

Membership

Unlock everything on the site for one low price.

$ 16 / month SAVE 90%

Product Overview

About Woocommerce | Mollie Payments

Welcome to the World of Woocommerce and Mollie Payments

Woocommerce and Mollie Payments come together to provide an efficient and seamless payment solution for your online business. In this blog, we will delve into the features, benefits, and integration process of using Mollie Payments with Woocommerce. Whether you are a small business owner or a large enterprise, this dynamic duo can help you streamline your online transactions and enhance the overall shopping experience for your customers.

Benefits of Using Mollie Payments with Woocommerce

There are numerous benefits to using Mollie Payments with Woocommerce. One of the key advantages is the wide range of payment methods supported by Mollie, including credit cards, PayPal, iDEAL, and more. This gives you the flexibility to cater to customers from different regions and preferences, ultimately increasing conversions on your website. Additionally, Mollie offers fast and secure transactions, reducing the risk of fraud and ensuring a smooth checkout process for your customers.

Seamless Integration Process

Integrating Mollie Payments with Woocommerce is a straightforward process that can be done in just a few simple steps. First, you will need to create an account with Mollie and obtain your API key. Next, install the Mollie Payments plugin on your Woocommerce store and enter your API key to connect the two platforms. Once the integration is complete, you can start accepting payments through Mollie on your Woocommerce website.

Customization and Flexibility

One of the standout features of using Mollie Payments with Woocommerce is the level of customization and flexibility it offers. You can easily customize the payment methods available to your customers, set up recurring payments, and manage subscriptions seamlessly. Additionally, Mollie provides detailed analytics and reporting tools to help you track your transactions and make informed decisions to optimize your online business.

Enhanced Security and Compliance

Security is a top priority when it comes to online transactions, and Mollie Payments ensures that your customers' sensitive information is protected at all times. Mollie is fully compliant with the latest security standards and regulations, including PCI DSS, to safeguard against data breaches and cyber threats. With Mollie Payments, you can rest assured that your online transactions are secure and compliant with industry standards.

Conclusion

Woocommerce and Mollie Payments make a powerful combination for any online business looking to elevate their payment processing capabilities. With a wide range of payment methods, seamless integration, customization options, and top-notch security features, this duo provides a comprehensive solution to streamline your online transactions and enhance the overall shopping experience for your customers. If you want to take your online business to the next level, consider integrating Mollie Payments with Woocommerce today.

Installation & Usage Guide

What You'll Need

  • After downloading from our website, first unzip the file. Inside, you may find extra items like templates or documentation. Make sure to use the correct plugin/theme file when installing.
1

Unzip the Plugin File

Find the plugin's .zip file on your computer. Right-click and extract its contents to a new folder.
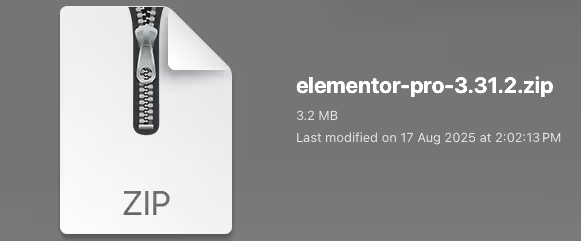
Image showing how to unzip a file
2

Upload the Plugin Folder

Navigate to the wp-content/plugins folder on your website's side. Then, drag and drop the unzipped plugin folder from your computer into this directory.
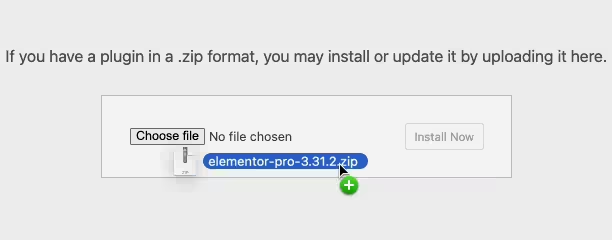
Image of dragging and dropping the plugin folder
3

Activate the Plugin

Finally, log in to your WordPress dashboard. Go to the Plugins menu. You should see your new plugin listed. Click Activate to finish the installation.
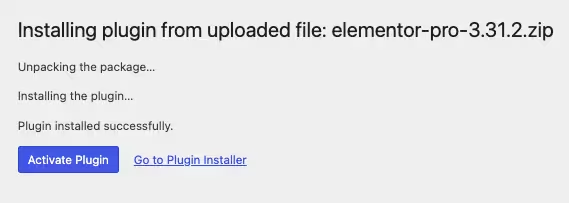
Image of the WordPress plugins page with the activate button highlighted

PureGPL ensures you have all the tools and support you need for seamless installations and updates!

For any installation or technical-related queries, Please contact via Live Chat or Support Ticket.