User registration | Authorize.Net
Updated on: February 11, 2026
Version 1.0.12

Single Purchase
Buy this product once and own it forever.
Membership
Unlock everything on the site for one low price.
Product Overview
Simplify your online transactions with the User Registration plugin for Authorize.Net. This powerful tool streamlines the registration process for your users while ensuring secure payment processing. Designed for ease of use, it integrates seamlessly with your existing system, allowing you to focus on what matters most—growing your business. Plus, with its user-friendly interface, both you and your customers will enjoy a hassle-free experience. What makes it stand out is its robust security features, ensuring that sensitive data is always protected. Say goodbye to complicated registration forms and hello to a smoother, more efficient way to manage user accounts.
Key Features
- Seamless integration with Authorize.Net for secure payment processing.
- User-friendly interface that makes registration a breeze.
- Robust security features to protect user data and transactions.
- Customizable registration forms to suit your brand’s needs.
- Instant notifications for both users and administrators upon registration.
- Support for multiple payment methods to cater to a diverse user base.
- Responsive design ensuring compatibility with all devices.
- Easy-to-follow documentation for quick setup and troubleshooting.
Installation & Usage Guide
What You'll Need
- After downloading from our website, first unzip the file. Inside, you may find extra items like templates or documentation. Make sure to use the correct plugin/theme file when installing.
Unzip the Plugin File
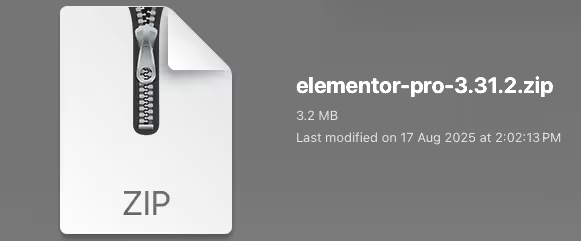
Find the plugin's .zip file on your computer. Right-click and extract its contents to a new folder.

Upload the Plugin Folder
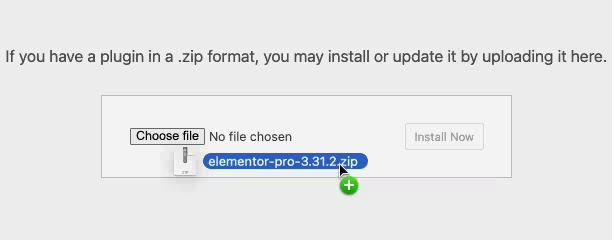
Navigate to the wp-content/plugins folder on your website's side. Then, drag and drop the unzipped plugin folder from your computer into this directory.

Activate the Plugin
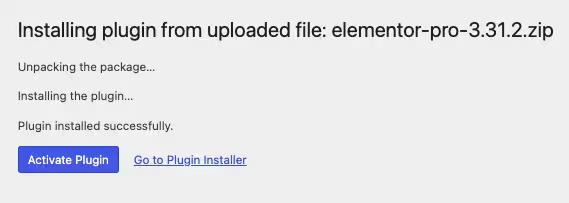
Finally, log in to your WordPress dashboard. Go to the Plugins menu. You should see your new plugin listed. Click Activate to finish the installation.

PureGPL ensures you have all the tools and support you need for seamless installations and updates!
For any installation or technical-related queries, Please contact via Live Chat or Support Ticket.