
- GPL License
$3.49
- 100% Original Product and Virus Free.
- Lifetime Updates with Membership Plans.
- Use on Unlimited Websites.
Version: 3.1
Unlimited Access for Just $16/Month
Unlock all products with no limits, no hassle!
| Single Product | VIP Membership |
|---|---|
| $3.49 Each | $16/Month |
| No Updates | Unlimited Updates |
| ❌ Limited Access | ✔️ All 20,000+ Products |
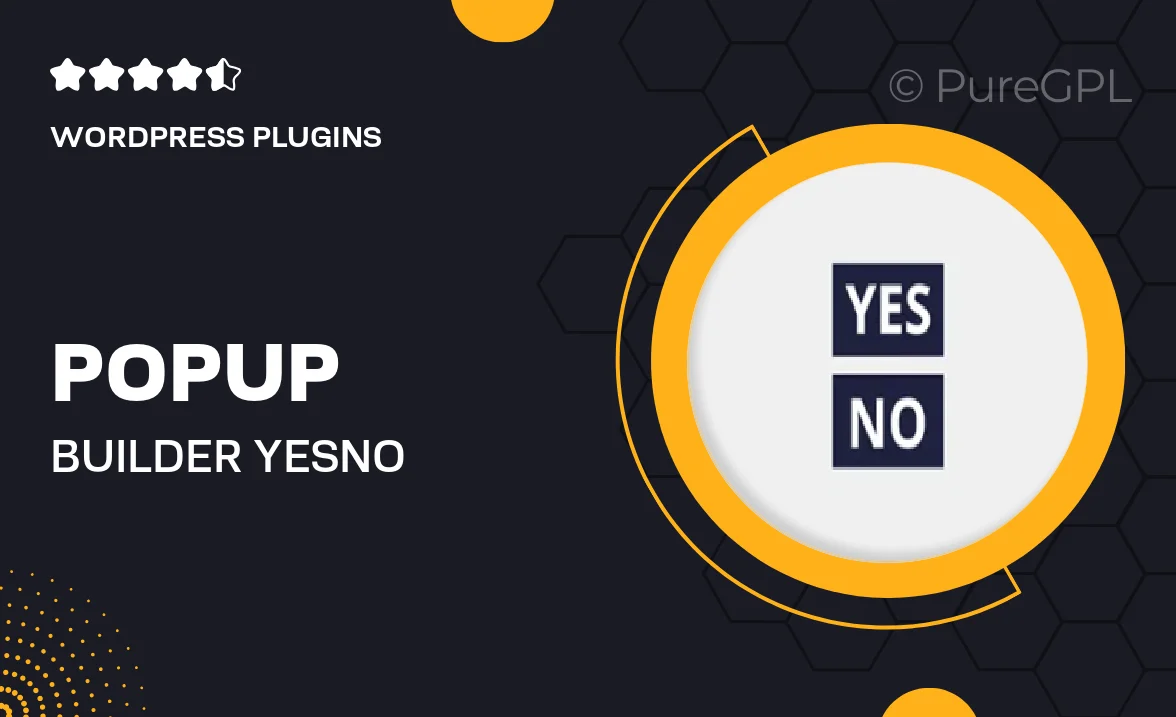
About Popup builder | Yes/No buttons
Introduction
Popup builder is a powerful tool for creating engaging and interactive popups for websites. With the ability to customize the design, content, and behavior of your popups, you can effectively capture the attention of your audience and drive them towards desired actions. In this blog, we will explore the use of Yes/No buttons in popup builders and how they can enhance user interaction.
What are Yes/No buttons?
Yes/No buttons are a type of interactive element that presents users with a binary choice – to proceed with the action or dismiss it. These buttons are commonly used in popups to prompt users for confirmation before carrying out a specific action, such as subscribing to a newsletter, confirming a purchase, or deleting an item.
Benefits of using Yes/No buttons
1. Clarity: Yes/No buttons provide a clear and straightforward way for users to make a decision. The binary choice simplifies the decision-making process and reduces the likelihood of confusion.
2. Engagement: By prompting users to make a choice, Yes/No buttons can increase user engagement with your popup. This interactive element creates a sense of involvement and encourages users to interact with your content.
3. Confirmation: Yes/No buttons can be used to confirm important actions, such as completing a purchase or submitting a form. By requiring users to confirm their choice, you can prevent accidental clicks and improve user experience.
How to use Yes/No buttons in a popup builder
1. Create a new popup: Start by creating a new popup in your preferred popup builder tool. Choose a template or design your own popup from scratch.
2. Add Yes/No buttons: Within the popup builder’s editor, look for options to add interactive elements. Add Yes/No buttons to your popup and customize their design, text, and behavior as needed.
3. Set triggers: Define the triggers for displaying the popup with Yes/No buttons. You can set triggers based on user behavior, such as time spent on a page, exit intent, or scrolling.
4. Test and optimize: Before publishing your popup, test the functionality of the Yes/No buttons to ensure they work as intended. Use A/B testing to optimize the design and copy for better performance.
Examples of Yes/No buttons in action
1. Newsletter subscription: A popup appears on a blog offering users the option to subscribe to a newsletter. The popup includes Yes/No buttons for users to confirm or decline the subscription.
2. Exit intent popup: When a user attempts to leave a website, a popup with Yes/No buttons appears, asking if they are sure they want to exit. Users can choose to stay on the site or leave.
3. Confirmation popup: After adding items to a shopping cart, a popup with Yes/No buttons asks users to confirm their purchase before proceeding to checkout.
Conclusion
Yes/No buttons are a valuable tool for enhancing user interaction in popups. By providing users with a clear choice and prompting them for confirmation, Yes/No buttons can improve engagement, clarity, and user experience. Incorporate Yes/No buttons in your popup builder to create more engaging and interactive popups that drive desired actions from your audience.