Envira Gallery | Schedule Addon
Updated on: December 14, 2023
Version 1.2.6

Single Purchase
Buy this product once and own it forever.
Membership
Unlock everything on the site for one low price.
Product Overview
Introducing the Envira Gallery Schedule Addon, the perfect companion for your Envira Gallery plugin. This powerful tool allows you to effortlessly schedule your galleries to display at specific times, ensuring your content is always fresh and engaging. Whether you're promoting a seasonal event or showcasing a limited-time collection, this addon gives you complete control over your gallery's visibility. Plus, with its user-friendly interface, managing your gallery schedule has never been easier. Say goodbye to manual updates and hello to automated gallery management!
Key Features
- Effortless scheduling: Set specific start and end times for your galleries.
- User-friendly interface: Easily manage your gallery visibility without hassle.
- Automated updates: Keep your content fresh without manual intervention.
- Perfect for events: Showcase seasonal promotions or limited-time offers seamlessly.
- Compatibility: Works flawlessly with the Envira Gallery plugin for a smooth experience.
- Custom notifications: Alert users when a gallery is about to go live or expire.
- Flexible settings: Adjust schedules as needed to fit your marketing campaigns.
Installation & Usage Guide
What You'll Need
- After downloading from our website, first unzip the file. Inside, you may find extra items like templates or documentation. Make sure to use the correct plugin/theme file when installing.
Unzip the Plugin File
Find the plugin's .zip file on your computer. Right-click and extract its contents to a new folder.

Upload the Plugin Folder
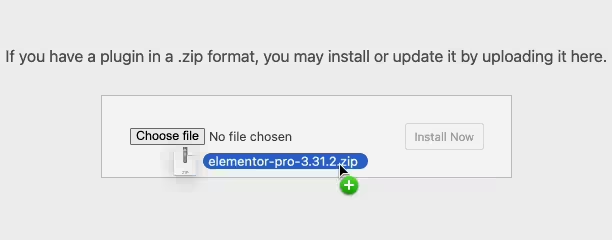
Navigate to the wp-content/plugins folder on your website's side. Then, drag and drop the unzipped plugin folder from your computer into this directory.

Activate the Plugin
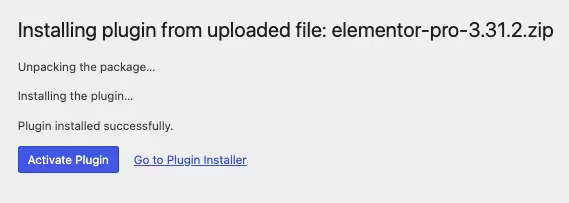
Finally, log in to your WordPress dashboard. Go to the Plugins menu. You should see your new plugin listed. Click Activate to finish the installation.

PureGPL ensures you have all the tools and support you need for seamless installations and updates!
For any installation or technical-related queries, Please contact via Live Chat or Support Ticket.