Changelog Total Products – 20704

Custom Google Maps

star star star star star_half 4.5/5 based on 100 reviews
schedule

Updated on: February 10, 2024

code

Version 2.3.2

Custom Google Maps
GPL License
VirusTotal Scan: View Report
Updated On: February 10, 2024
Version: 2.3.2
Downloads: 12
Status: verified_user Secure & Clean
Have a problem? bug_report Report Click here to report any issues with the product.

Single Purchase

Buy this product once and own it forever.

199

Membership

Unlock everything on the site for one low price.

912 / month SAVE 90%

Product Overview

About Custom Google Maps

Introduction

Google Maps is a popular web mapping service provided by Google. It offers a range of features, including directions, street views, and satellite imagery. However, sometimes the default features of Google Maps may not meet specific requirements. In such cases, customizing Google Maps becomes essential. This blog will explore the possibilities of customizing and enhancing Google Maps to suit unique needs.

Choosing a Customization Option

Before diving into the customization process, it is important to choose the right approach. There are typically three options available:

  • Using the Google Maps JavaScript API
  • Using existing libraries and plugins
  • Creating a custom solution from scratch

Each option has its own benefits and drawbacks depending on the specific requirements and skill level of the developer.

Customizing the Map UI

One of the most common customization requirements is altering the user interface (UI) of the map. This could include changing the colors, adding markers, drawing shapes, or adding custom controls. The Google Maps JavaScript API provides various methods and options to achieve these customizations.

Custom Map Styles

Another way to customize Google Maps is by applying custom map styles. This allows developers to create unique map themes by modifying elements such as water, roads, and labels. Google provides a map styling wizard that makes it easy to create and apply custom styles using JSON.

Adding Custom Markers

Markers play a crucial role in Google Maps, indicating specific locations on the map. By default, Google Maps provides a set of standard markers. However, custom markers can be created using custom images or SVG icons to make them more visually appealing and relevant to the application or website's theme.

Custom Info Windows

Info windows are pop-up windows that appear when a marker is clicked. They typically display additional information about the location or provide interactive features. Customizing info windows allows developers to control their appearance and content, ensuring a seamless integration with the overall design of the application or website.

Custom Overlay Types

Google Maps also supports custom overlays, which are graphical objects that can be placed on top of the map. These overlays can range from simple shapes such as polygons and circles to complex elements like heatmaps or custom animations. By customizing overlays, developers can create interactive and engaging visualizations.

Conclusion

Customizing Google Maps enables developers to create personalized and engaging experiences for their users. Whether it's altering the UI, applying custom map styles, or adding custom markers and overlays, the possibilities are endless. With the right approach and tools like the Google Maps JavaScript API, developers can tailor Google Maps to meet the specific needs of their applications or websites.

Installation & Usage Guide

What You'll Need

  • After downloading from our website, first unzip the file. Inside, you may find extra items like templates or documentation. Make sure to use the correct plugin/theme file when installing.
1

Unzip the Plugin File

Find the plugin's .zip file on your computer. Right-click and extract its contents to a new folder.
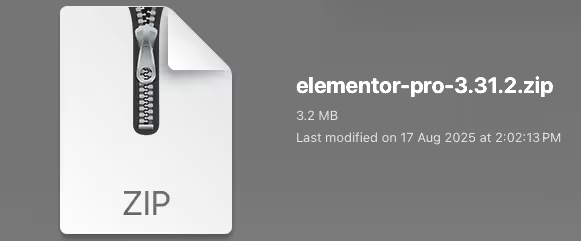
Image showing how to unzip a file
2

Upload the Plugin Folder

Navigate to the wp-content/plugins folder on your website's side. Then, drag and drop the unzipped plugin folder from your computer into this directory.
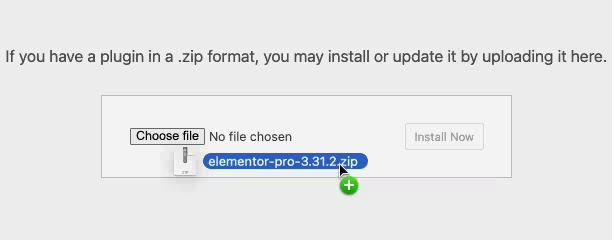
Image of dragging and dropping the plugin folder
3

Activate the Plugin

Finally, log in to your WordPress dashboard. Go to the Plugins menu. You should see your new plugin listed. Click Activate to finish the installation.
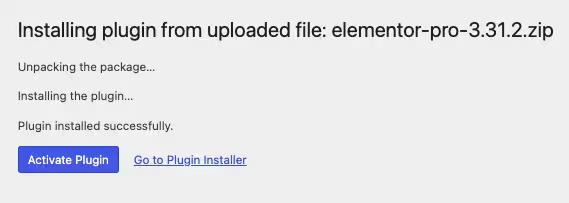
Image of the WordPress plugins page with the activate button highlighted

PureGPL ensures you have all the tools and support you need for seamless installations and updates!

For any installation or technical-related queries, Please contact via Live Chat or Support Ticket.