Changelog
Total Products – 20704
star star star star star_half 4.5/5 based on 100 reviews
schedule

Updated on: August 24, 2025

code

Version 3.7.4

JetEngine
GPL License
VirusTotal Scan: View Report
Updated On: August 24, 2025
Version: 3.7.4
Downloads: 12
Status: verified_user Secure & Clean
Have a problem? bug_report Report Click here to report any issues with the product.

Single Purchase

Buy this product once and own it forever.

$ 3.49

Membership

Unlock everything on the site for one low price.

$ 16 / month SAVE 90%

Product Overview

About Crocoblock | JetEngine

Crocoblock | JetEngine: A Comprehensive Review

Crocoblock, a powerful toolkit for building websites, has gained immense popularity among developers and website builders. JetEngine, one of the flagship plugins offered by Crocoblock, provides a plethora of features and functionalities to enhance the functionality of websites. In this comprehensive review, we will explore the various aspects of Crocoblock and JetEngine to understand why they are becoming a go-to solution for many web developers.

What is Crocoblock?

Crocoblock is a versatile toolkit designed to help users build professional websites using the WordPress platform. It offers a wide range of plugins, templates, and widgets that can be used to create different types of websites such as blogs, e-commerce sites, portfolios, and more. Crocoblock aims to provide users with a full package of tools and resources to simplify the website building process and give them complete control over their project.

Introducing JetEngine

JetEngine is the flagship plugin offered by Crocoblock. It is a comprehensive toolset that empowers users to create and manage custom post types, taxonomies, and meta fields with ease. JetEngine is built specifically for WordPress, making it compatible with the platform’s core functionalities and allowing seamless integration with other plugins and themes. With JetEngine, users can take their website to the next level by adding dynamic content and functionalities.

Key Features of JetEngine

JetEngine comes with a wide range of features that can significantly enhance the functionality of a website. Some of the key features include:
  • Listing Grid and Listing Calendar: JetEngine provides stylish and customizable listing grid and calendar widgets, making it easy to showcase your custom post types in a visually appealing manner.
  • Smart Posts Listing: This feature allows users to display related posts dynamically, based on different criteria such as tags, categories, or custom fields.
  • Front-End Submissions: With JetEngine, users can enable front-end submissions, allowing visitors to submit their own content and contribute to the website.
  • Dynamic Field Types: JetEngine offers a wide variety of dynamic field types, including repeaters, color pickers, date pickers, and more, to make it easier to collect and display different types of data.
  • Conditional Logic: Users can add conditional logic to their custom post types and fields, providing a more personalized and dynamic user experience.

Conclusion

Crocoblock and JetEngine offer a powerful toolkit for web developers and website builders. With its extensive range of features and tools, JetEngine empowers users to create and manage custom post types, taxonomies, and meta fields, adding dynamic content and functionalities to their websites. Whether you are building a simple blog or a complex e-commerce site, JetEngine provides the flexibility and control you need. So, if you want to take your WordPress website to the next level, Crocoblock and JetEngine are definitely worth considering.

Installation & Usage Guide

What You'll Need

  • After downloading from our website, first unzip the file. Inside, you may find extra items like templates or documentation. Make sure to use the correct plugin/theme file when installing.
1

Unzip the Plugin File

Find the plugin's .zip file on your computer. Right-click and extract its contents to a new folder.
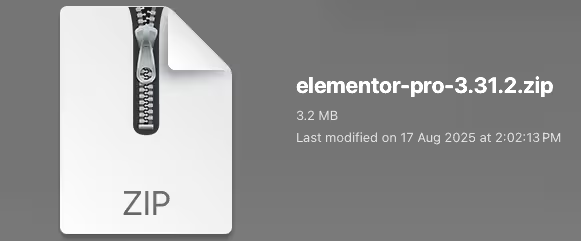
Image showing how to unzip a file
2

Upload the Plugin Folder

Navigate to the wp-content/plugins folder on your website's side. Then, drag and drop the unzipped plugin folder from your computer into this directory.
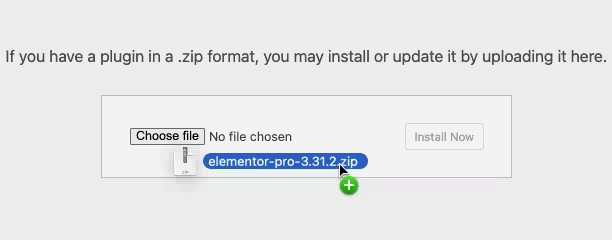
Image of dragging and dropping the plugin folder
3

Activate the Plugin

Finally, log in to your WordPress dashboard. Go to the Plugins menu. You should see your new plugin listed. Click Activate to finish the installation.
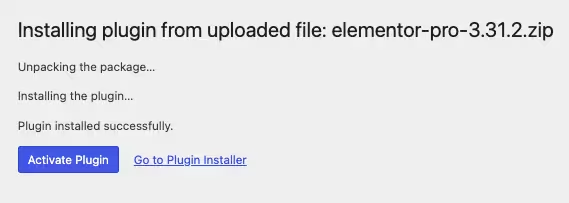
Image of the WordPress plugins page with the activate button highlighted

PureGPL ensures you have all the tools and support you need for seamless installations and updates!

For any installation or technical-related queries, Please contact via Live Chat or Support Ticket.